Configure a bot for Messenger
If you followed the guide Create your first bot with Tock Studio, you created a connector with type Slack.
In this guide, you will create a configuration for Facebook Messenger and set up the bot to chat with it on this application.
What you will build
-
A configuration (in both Facebook and Tock) to send and receive messages through Messenger
-
A bot who can chat on a Facebook page or on Messenger
What you need
-
About 20 minutes
-
A working Tock bot (e.g. following the first Tock bot guide)
-
A Facebook Developer account
Create a Facebook page
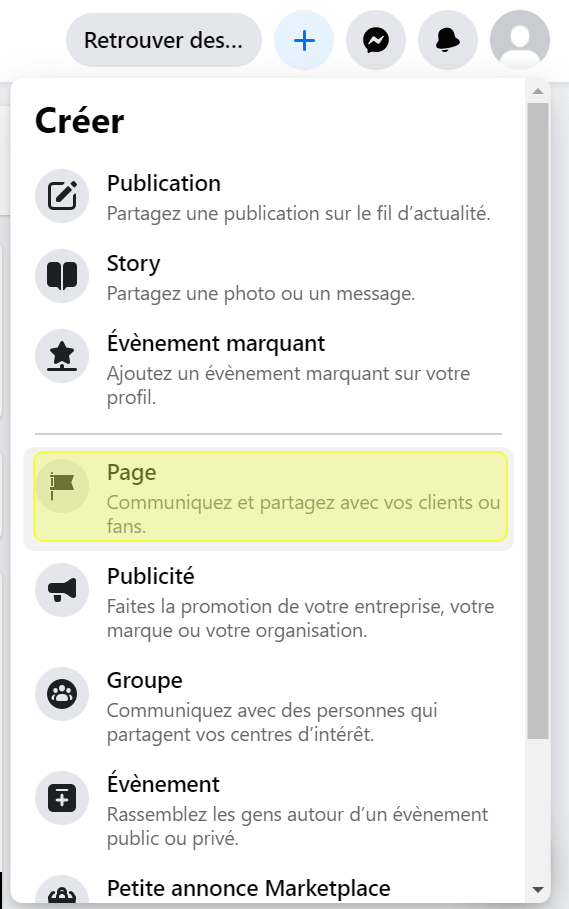
- Create a Facebook page

- Give it a name (e.g. My Tock Bot)
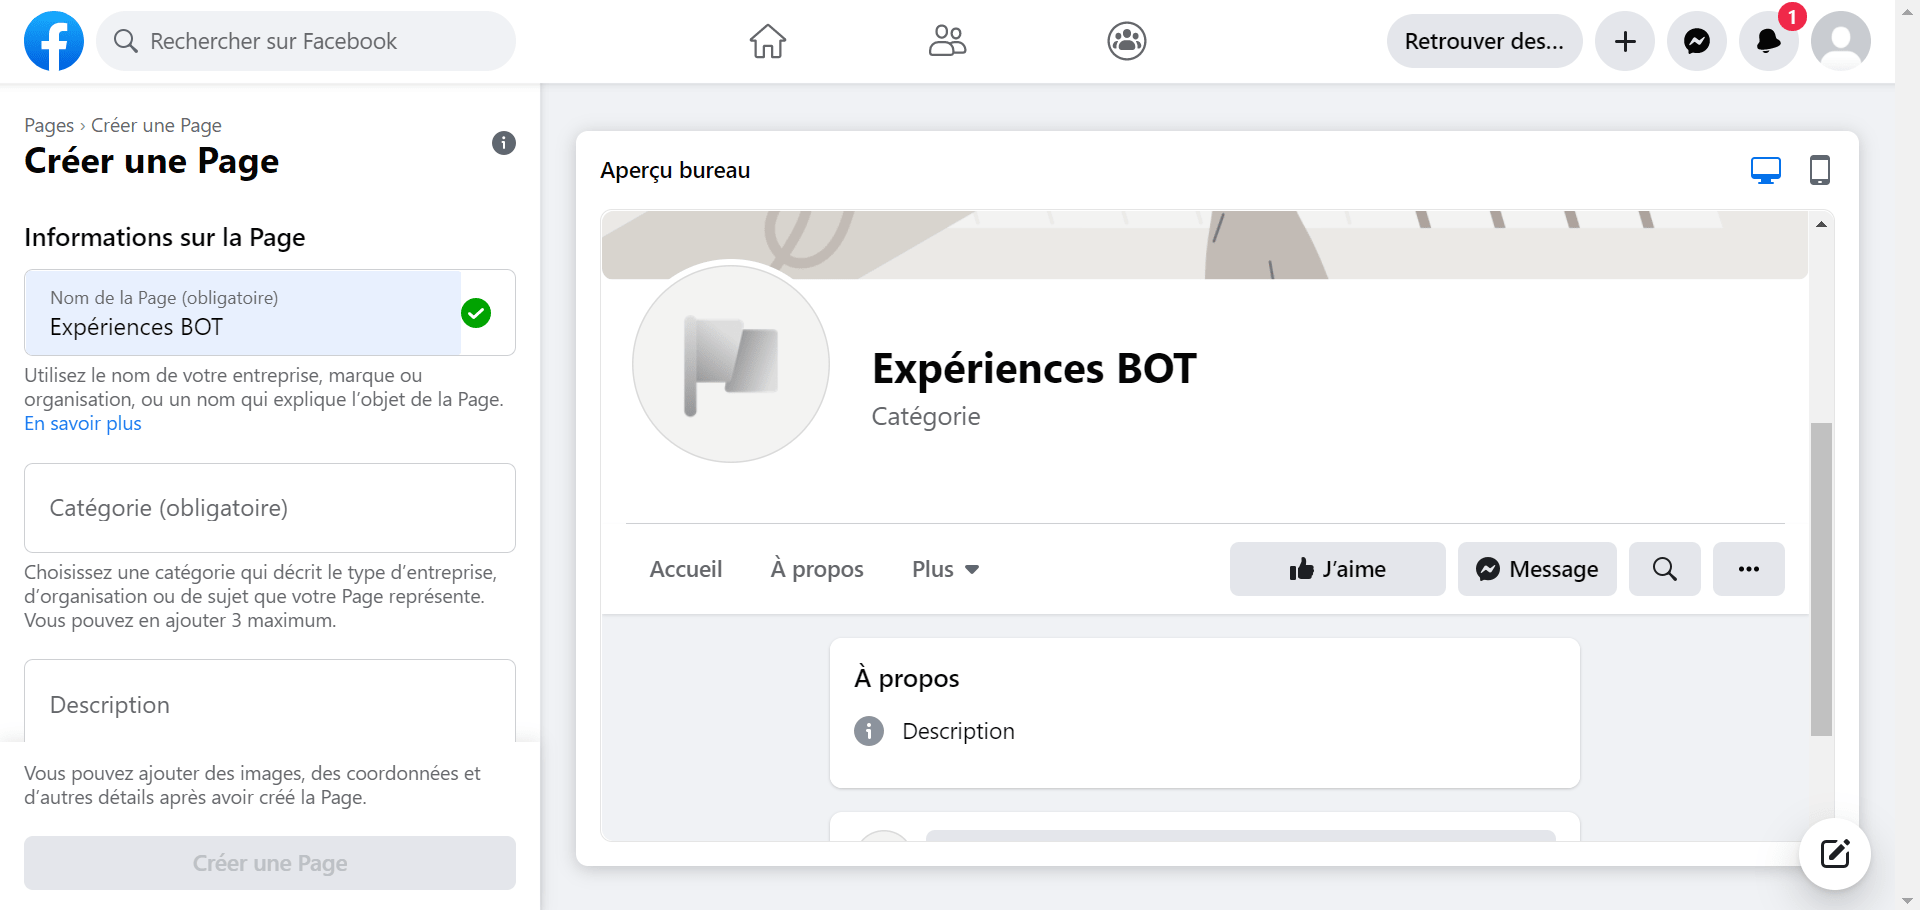
Our advice: do not publish the page to limit its access by Messenger users: Settings > General > Page Visibility > Page unpublished
Create a Facebook App
For more details on creating an App, you can read the Facebook Developer Documentation.
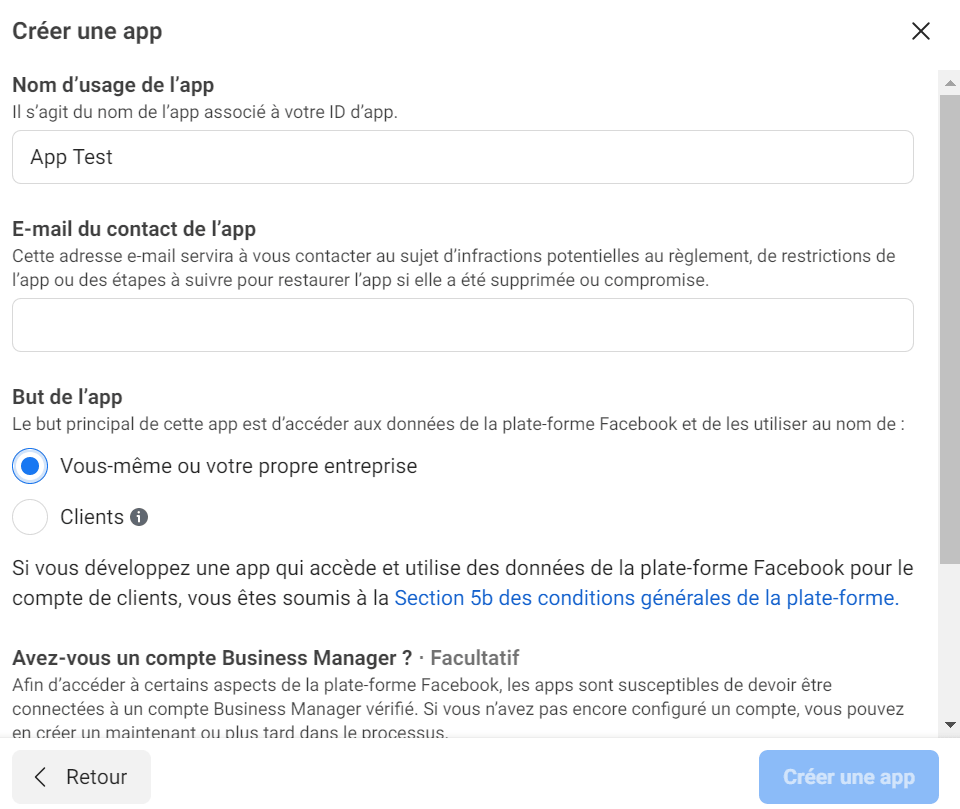
- Go on the page Facebook for developers > My Apps
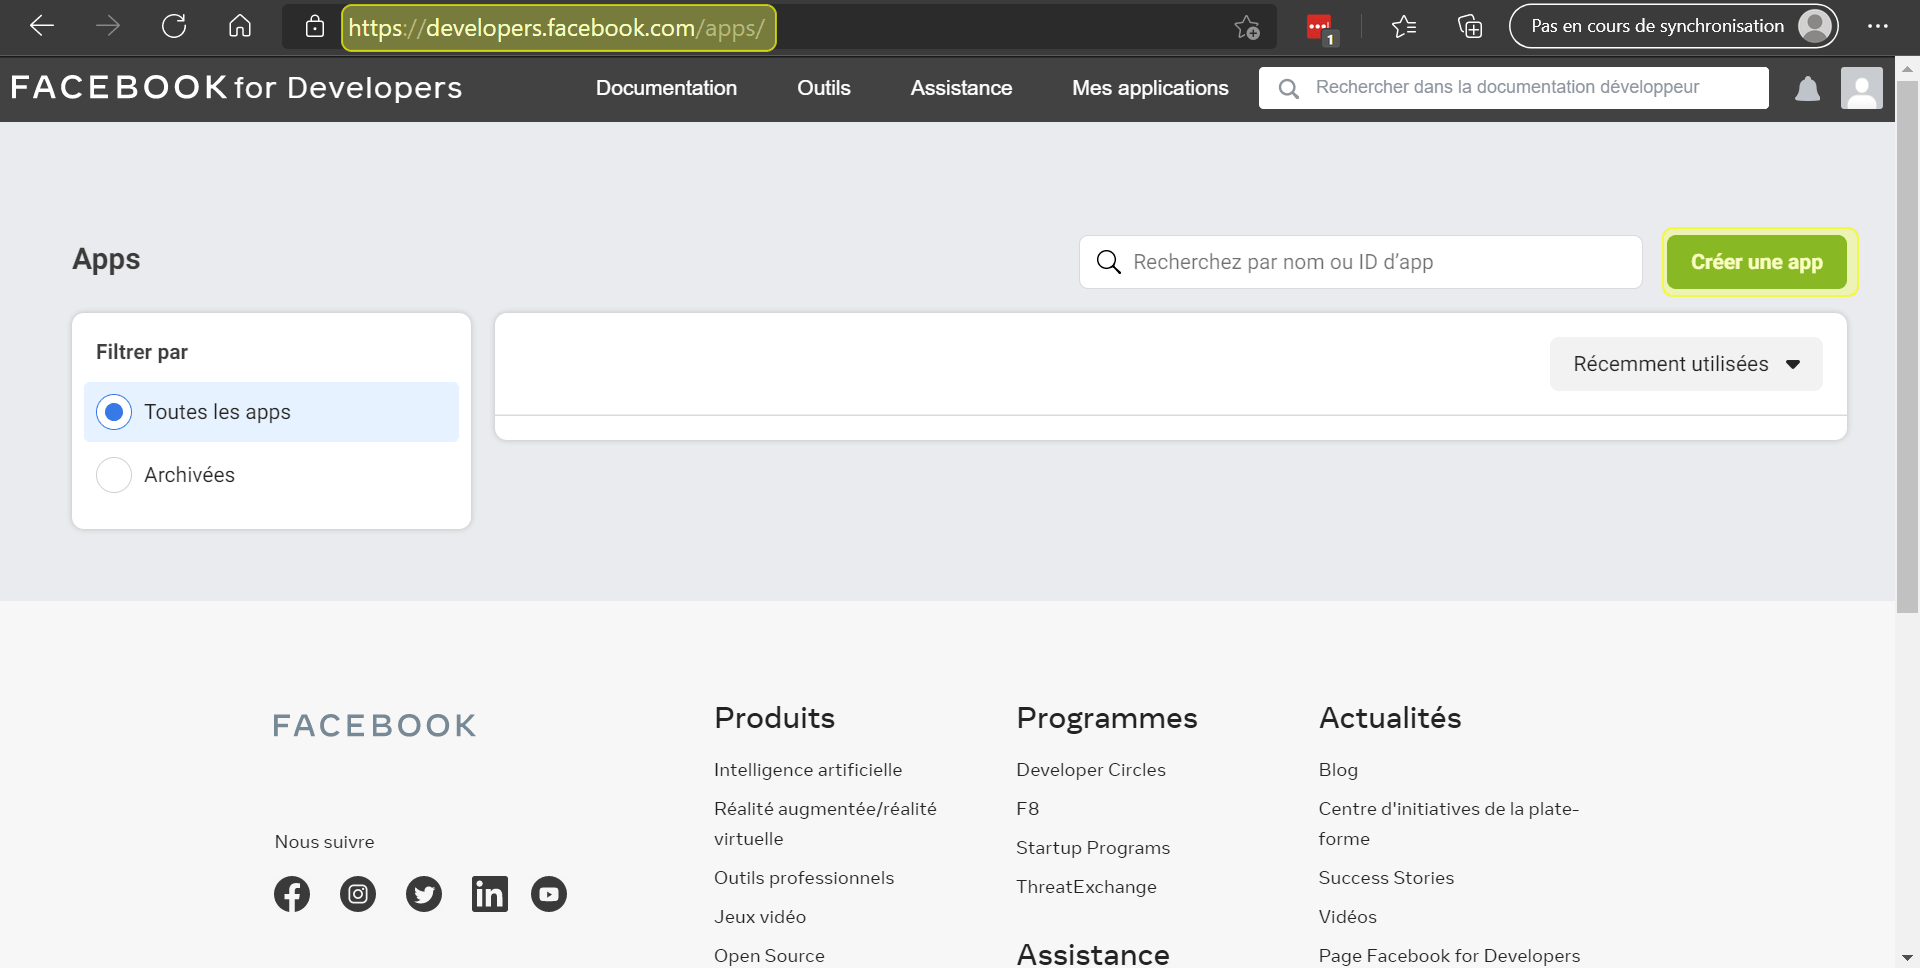
- Create App > Manage Business Integrations
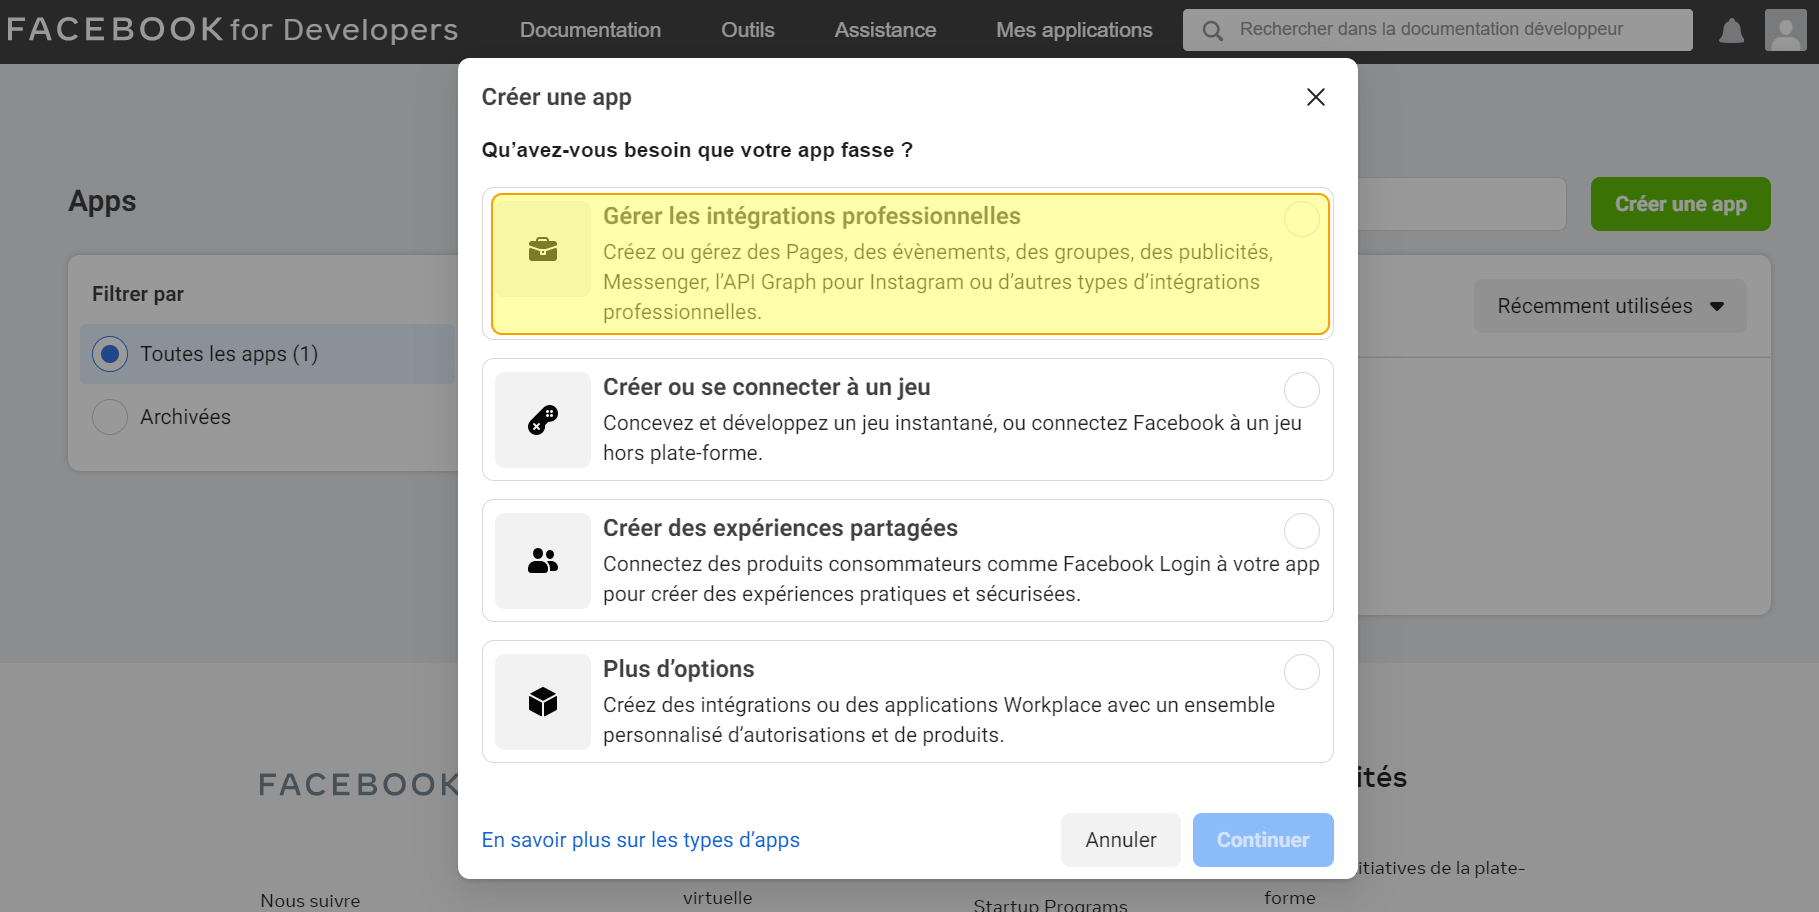
- Set your app name and email
- Add a product: Messenger
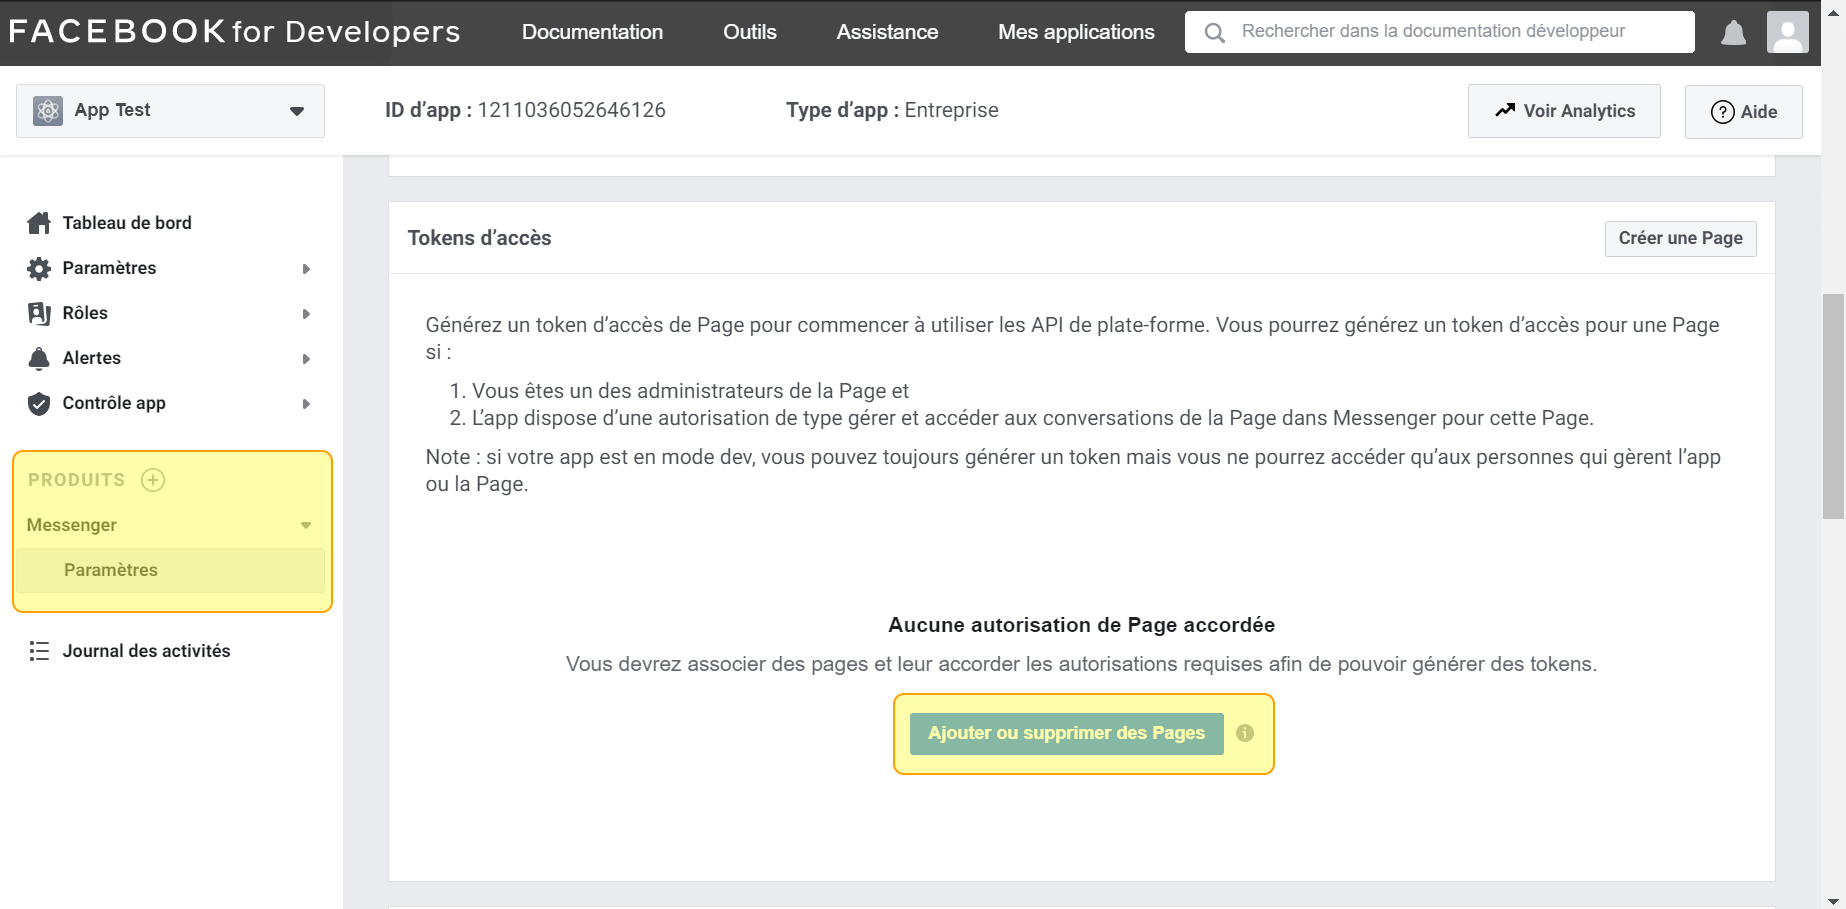
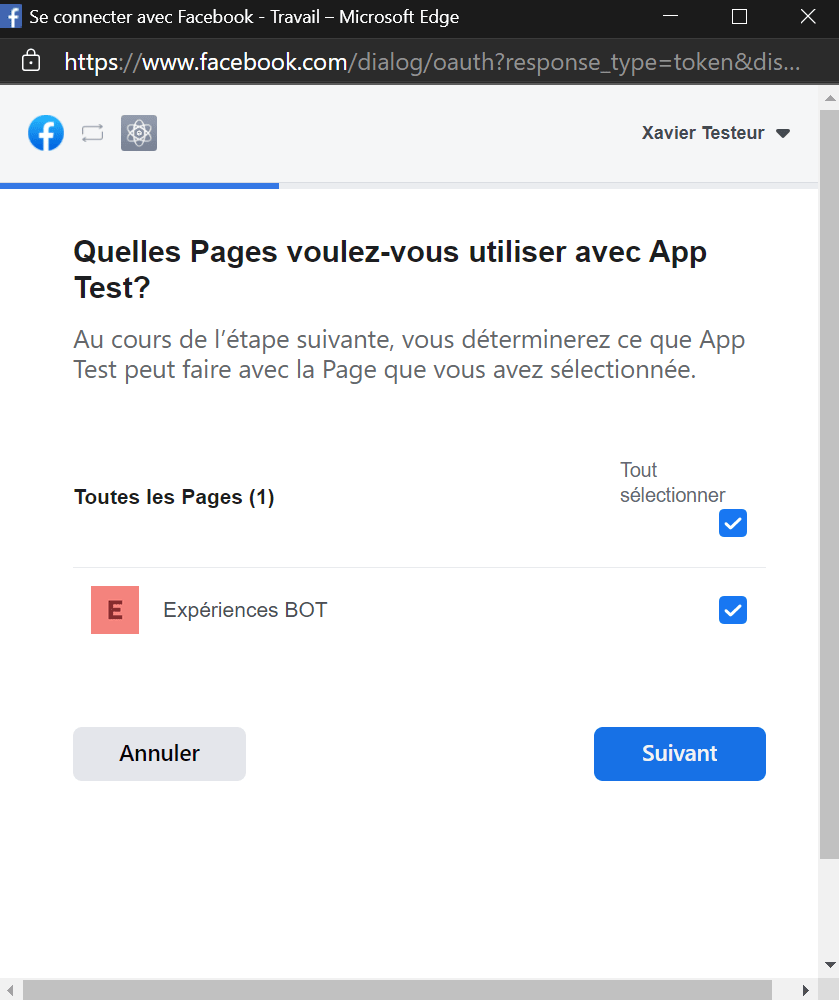
Create a Messenger Connector
- In Tock Studio go to Settings > Configurations:
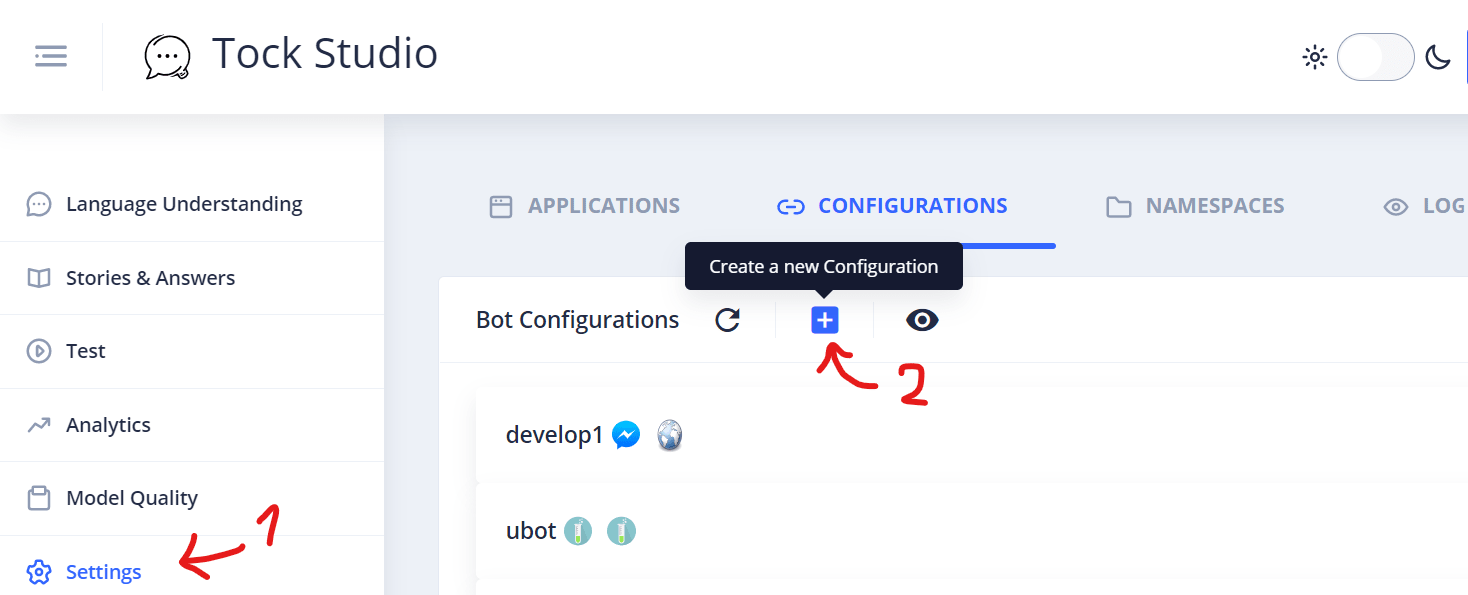
- Create a connector with type Messenger and open the Connector Custom Configuration section
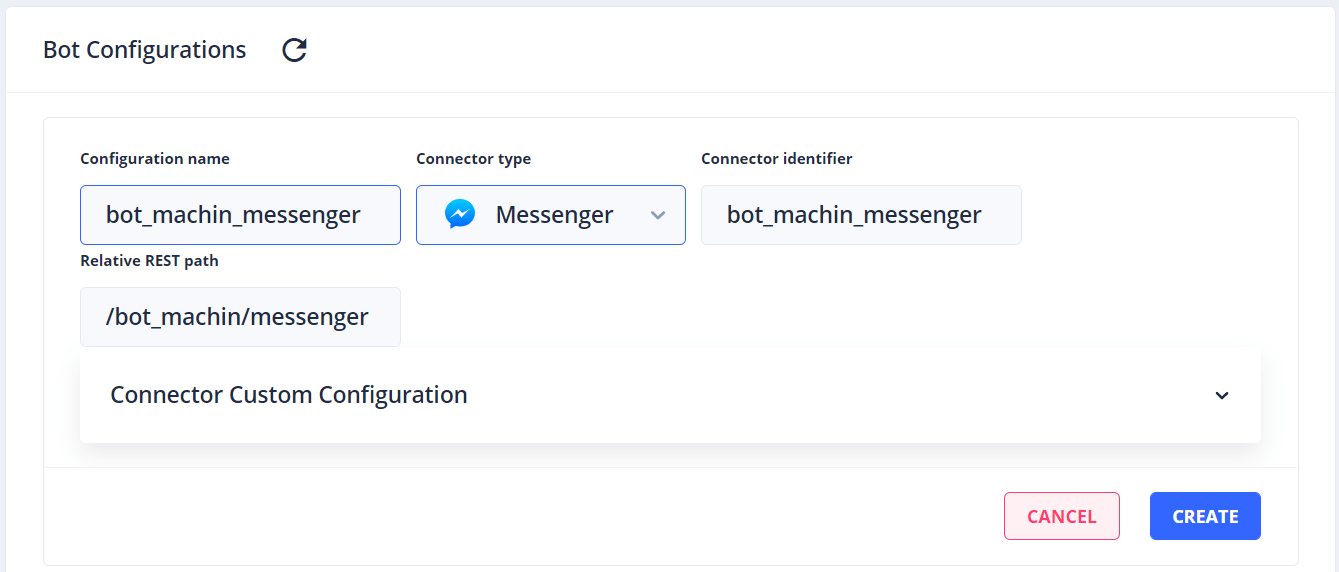
- Fill in the fields (see below for each field)
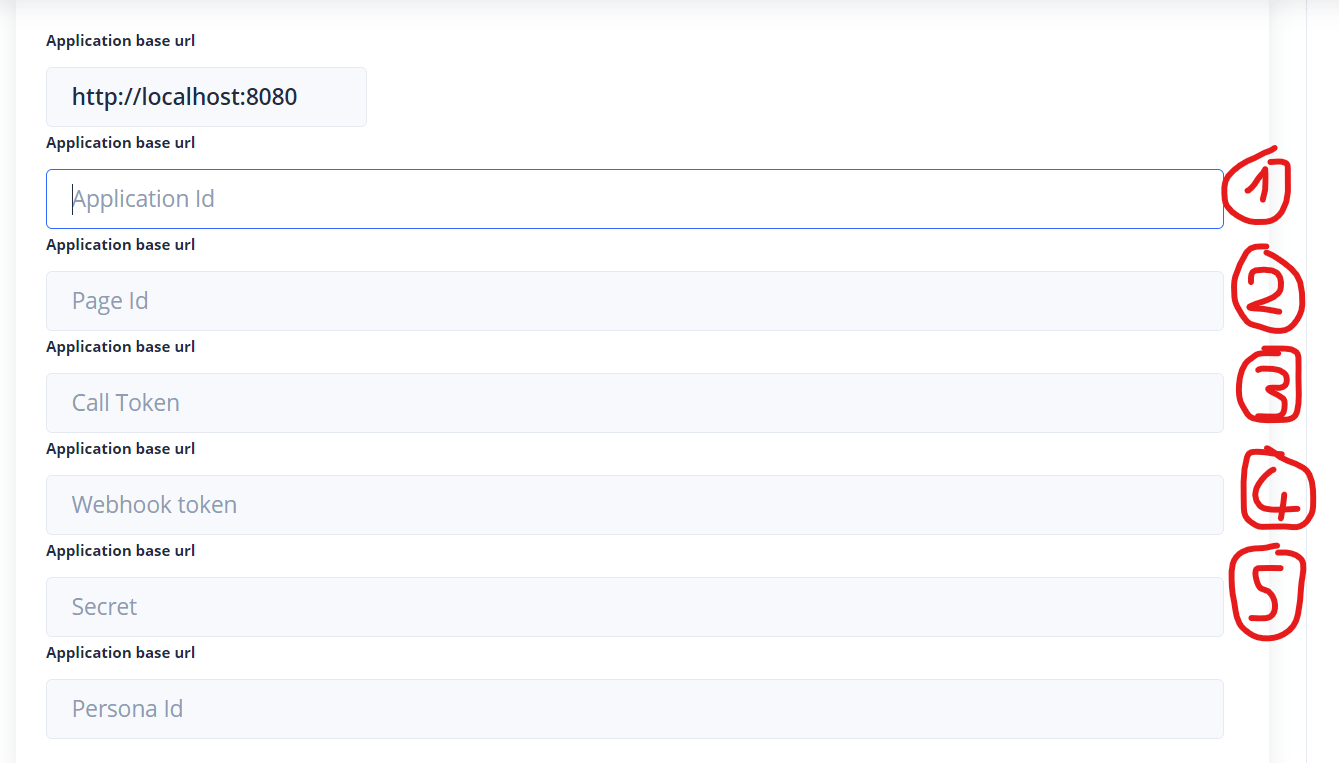
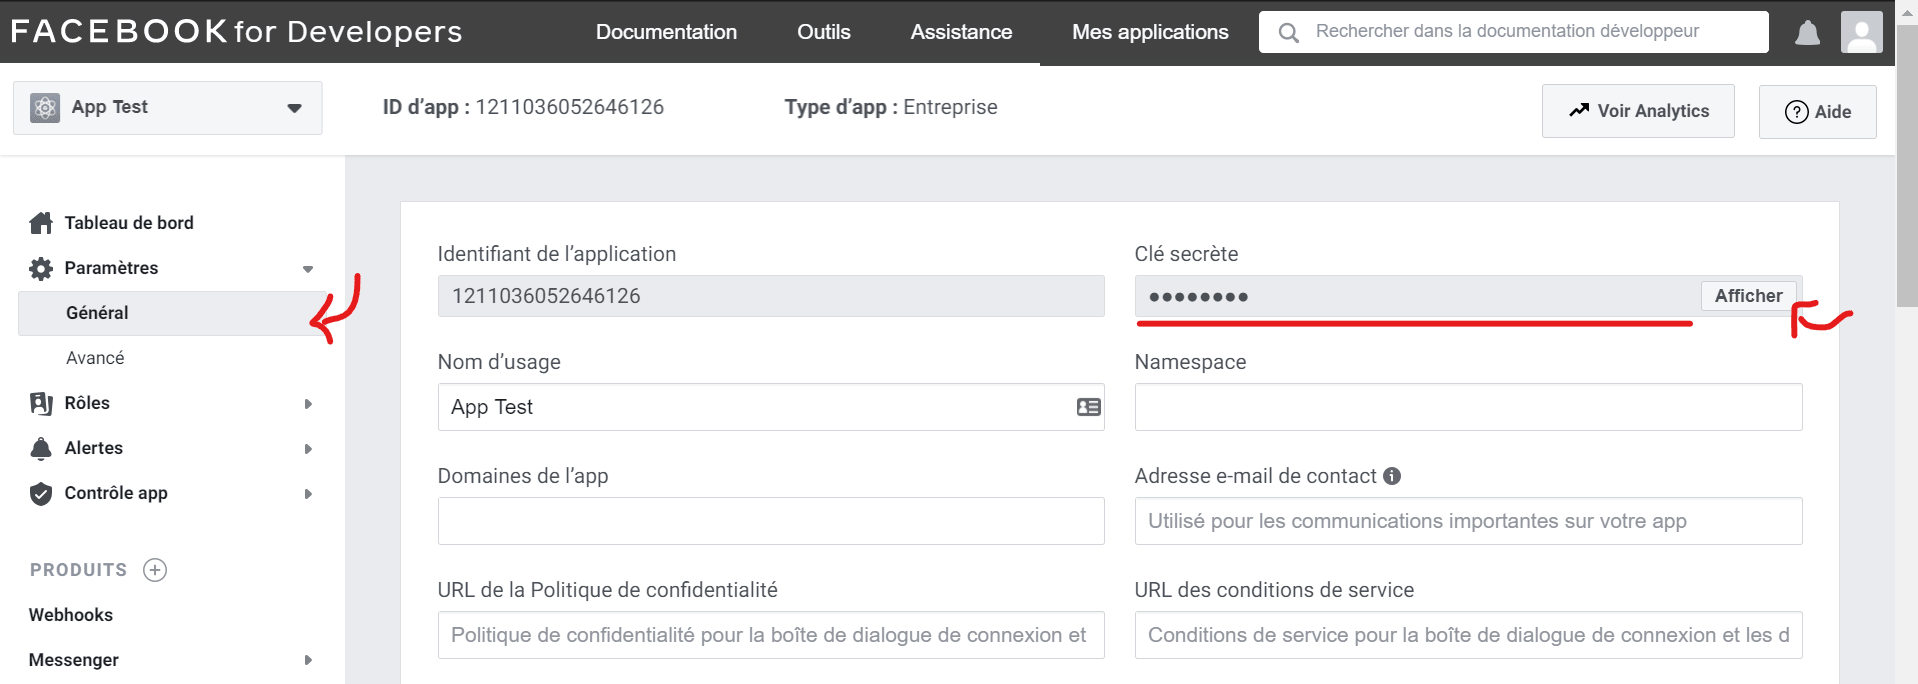
- Application Id: you can find it on your app’s settings page at https://developers.facebook.com

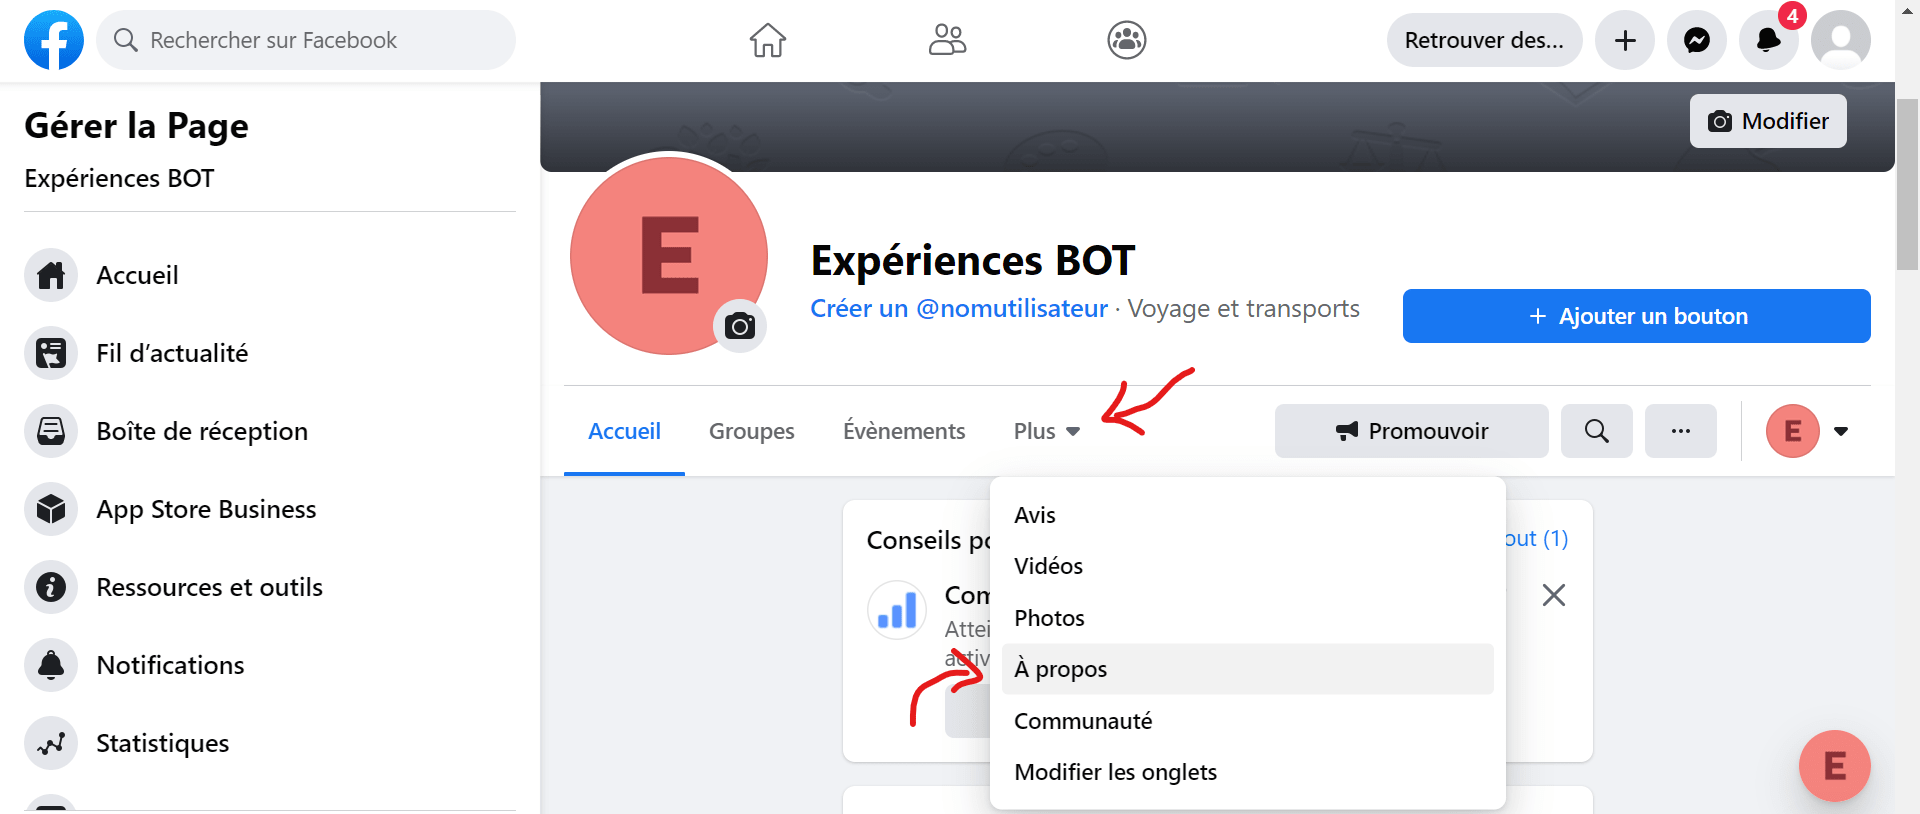
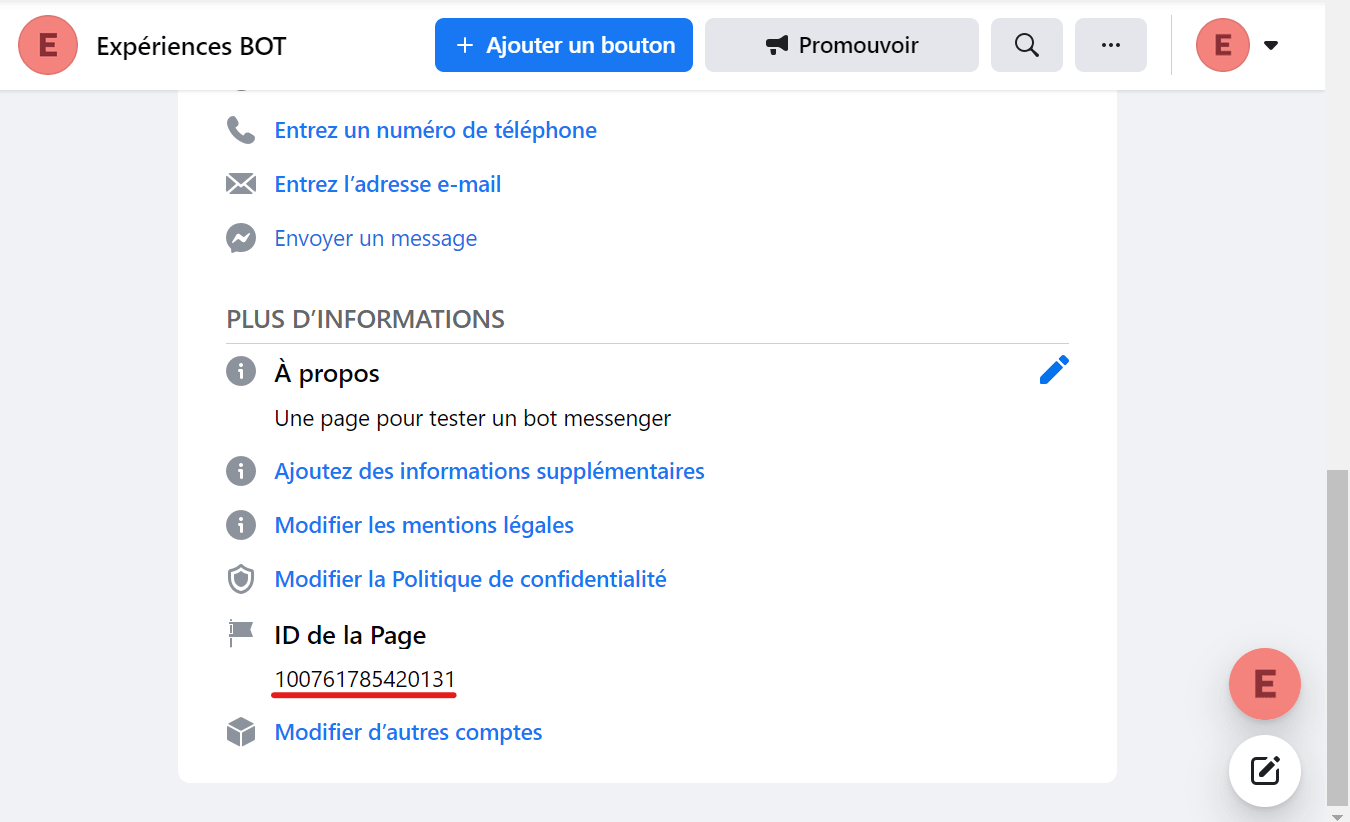
- Page Id: you can find it on the page you made for your app at https://facebook.com
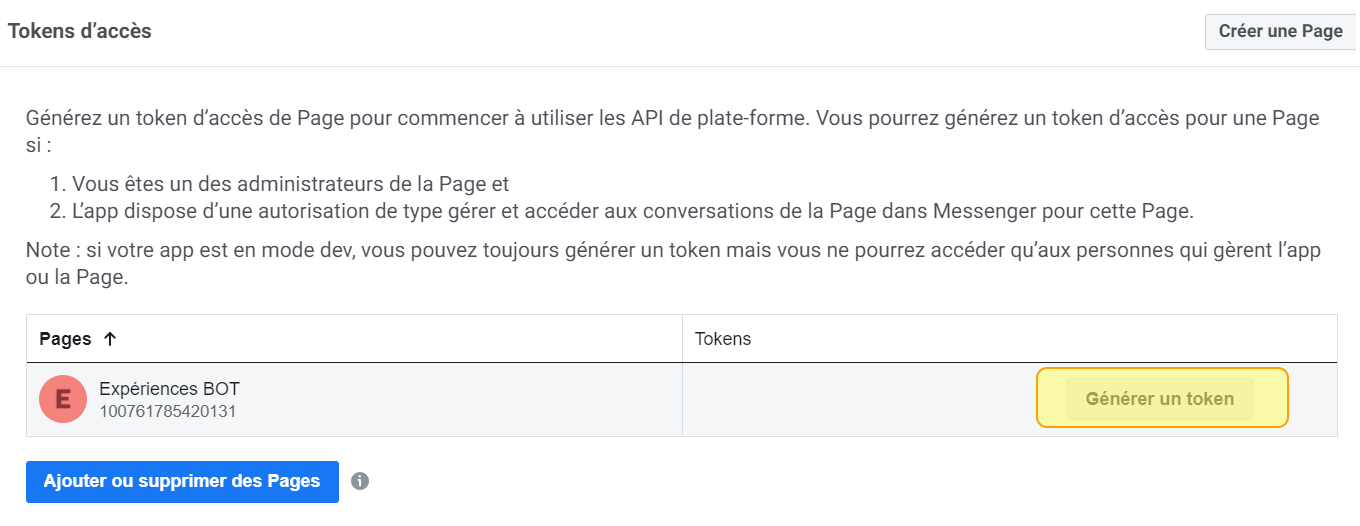
- Call Token: this token can be found on your app’s settings page at https://developers.facebook.com
-
Webhook Token: choose an arbitrary token (even
tokenif you so wish) and note it down for later - Facebook will use it to call the Tock webhook -
Secret: you can copy it from your app’s settings page at https://developers.facebook.com
-
Persona Id: you can leave this field empty
-
Check that the connector’s configuration is correctly saved
Configure the Callback URL
-
Go back to the configuration page for your application at https://developers.facebook.com: Products > Messenger > Settings > Webhooks
-
Click on Setup Webhooks
-
Input the URL at which your Tock instance is currently deployed, and the webhook token you chose earlier while configuring the connector
To retrieve your connector’s URL, go on the configuration page Tock Studio > Settings > Configurations, unroll your Messenger connector’s configuration, and concatenate the content of the field Application base url with that of the field Relative REST path.
-
Click on Verify and Save
-
Test your bot on Messenger!
Congratulations!
Your bot can now chat on Messenger, as well as on other channels you added connectors for.
The conversational model, features and personality of your assistant are built and remain independent of the channels on which the bot is present. However, nothing prevents you from creating specific paths or responses for a particular channel, as you will see through the various different Tock tools: Responses handling screen, activation of intentions on the channels of your choice with the Story Rules screen, use of DSLs and of the Bot API to take advantage of specific graphical components, etc.
Continue…
To learn more about the Messenger connector bundled with Tock, you can take a look at the connector-slack directory on GitHub, where you will find sources and the connector’s README.
To learn more about Tock Studio and about Tock’s features and deployment modes, you can also browse the more complete user guide.